Featured

My First Blog Post

Be yourself; Everyone else is already taken.

— Oscar Wilde.

This is the first post on my new blog. I’m just getting this new blog going, so stay tuned for more. Subscribe below to get notified when I post new updates.

Before we learn how to go about making an electric guitar, we have to understand the basic guitar anatomy.

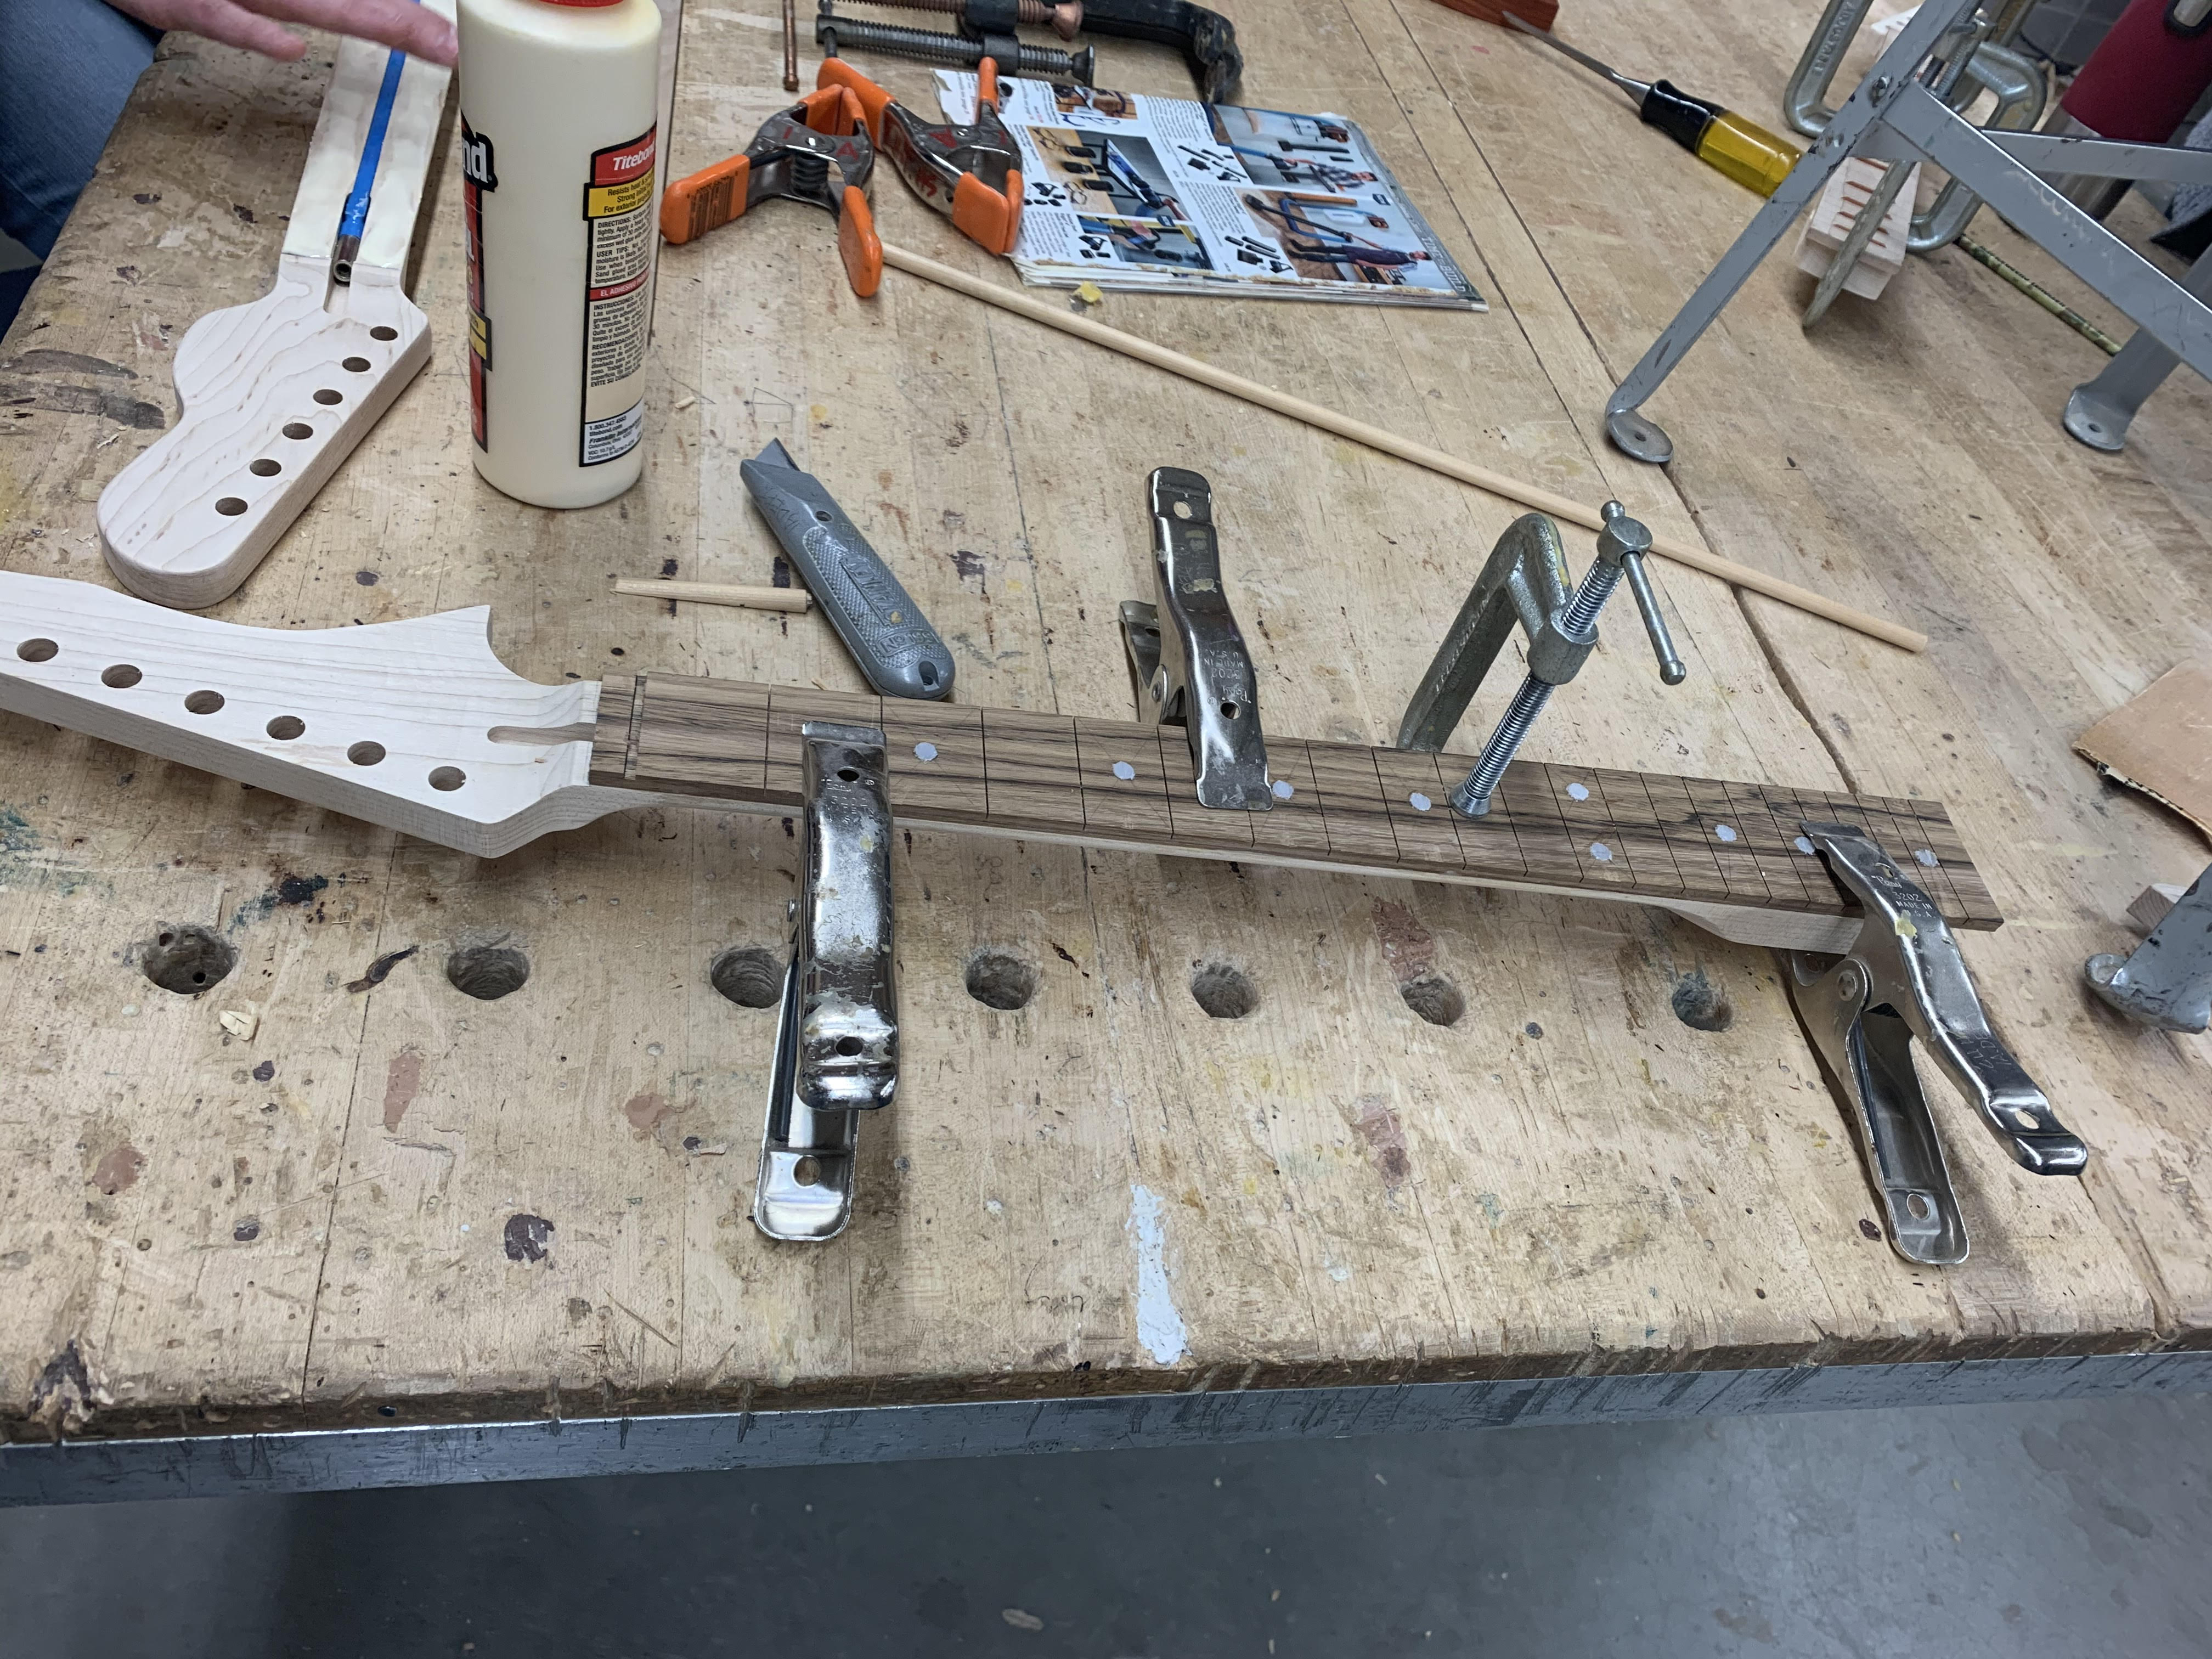
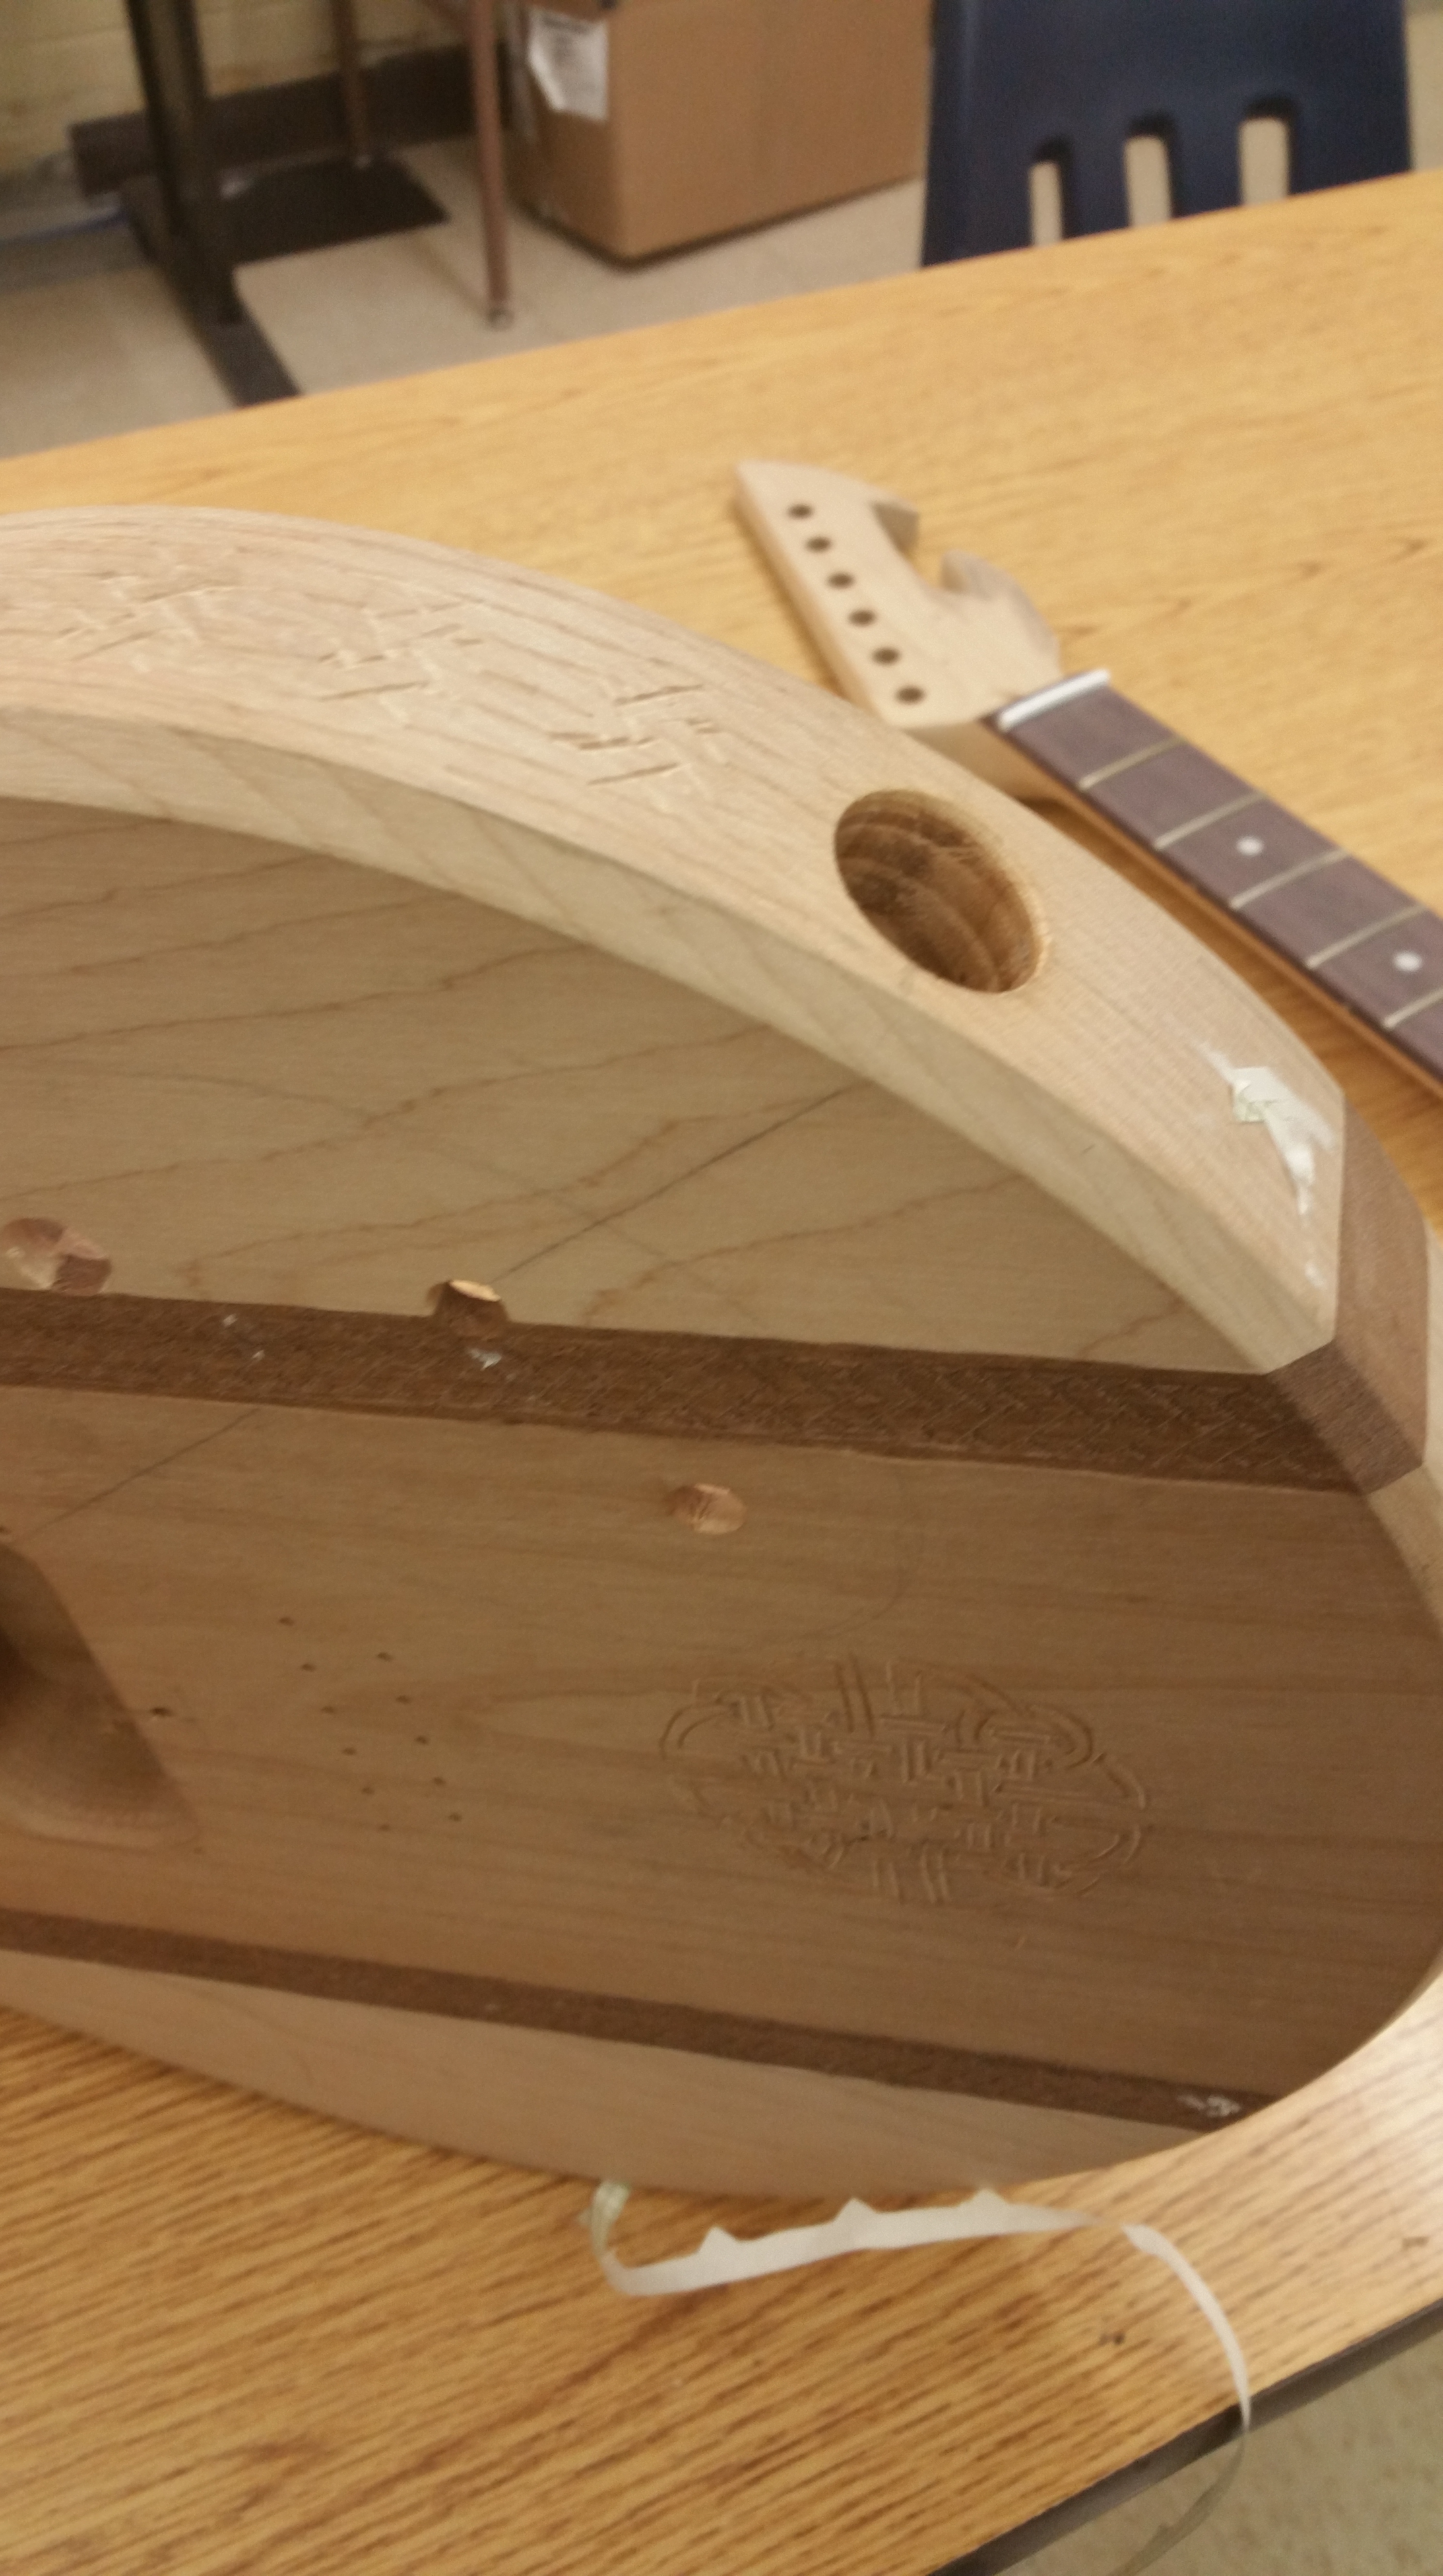
All guitars have a body and a neck. The body is the main structure of the guitar. It holds the bridge, where the strings are attached. The neck is long part of the guitar that supports the strings. At the end of the neck is the head stock. The head stock holds the string tree, a series of tuning machines that control the pitch of each individual guitar string.

Also on the neck of the guitar is the fret board. The fret board marks each fret of the guitar, which are used to play chords.

Now lets move on to guitar anatomy exclusive to electric guitars, such as pickups, control nobs, and a cable jack.

Pickups serve the purpose of picking up each strings vibration and converting these vibrations into an electric signal that is ready to amplified and enhanced.

You can control the tone and pitch of these electric signals with control nobs that interfere with the flow of the electric current and alter its qualities. This current is then sent out the cable jack and into an amplifier, distinguishing an electric guitar from an acoustic one.

The Fret Board

This week was focused on starting the fret board of the guitar. We started by drilling holes with a 3/8″ forstner bit about halfway deep into the fret board. we had to make sure every hole was perfectly centered. To do this, we marked the frets we wanted to drill with two diagonal lines connecting opposite corners of the fret. this would ensure that every hole was in the center of the respective fret. as shown.

undefined

After we completed drilling the holes we inlayed the fret dots by taking a piece of plastic rod specially made to fit in these holes. We glued the plastic rod into the hole using super glue, then sawed the part of the rod extended from the hole off. Once we had done this for each hole, we clamped and glued the fret board to the neck of the guitar and let it set overnight.

undefined

This week we drilled the jack hole and the holes for the wiring to pass through. For the jack hole we used a 3/8″ Forstner bit and drilled it in diagonally into the electrical box as shown. undefined

Besides drilling holes I also continued to carve the surface of the guitar. undefined undefined

Overall, I learned how to drill with a Forstner bit and long, thin drillbits without damaging them or the guitar.

The Beginning

Assuming that you are using a guitar kit like me, you will already have a body blank that needs to be shaped and refined such as the one in the first photo.undefined

The edge of the body will need to be sanded with progressively smaller grits of sandpaper to prepare it for routing. I started with 80 grit, then moved on to 100, followed by 150 and finally 220.

.undefined

Once the edge is sanded the body is ready to be routed. Routing is the process of giving a block of wood a stylized edge. I did this with a hand router and moved it around the guitar, but it can be done using a table router as well. In this case I used a 45 degree router bit

.undefined

After you are done routing the guitar, you need to sand some more. This isn’t necessary if like me you decide to carve a border around the guitar, but I will elaborate on that for my next post.

Introduce Yourself (Example Post)

This is an example post, originally published as part of Blogging University. Enroll in one of our ten programs, and start your blog right.

You’re going to publish a post today. Don’t worry about how your blog looks. Don’t worry if you haven’t given it a name yet, or you’re feeling overwhelmed. Just click the “New Post” button, and tell us why you’re here.

Why do this?

  • Because it gives new readers context. What are you about? Why should they read your blog?
  • Because it will help you focus you own ideas about your blog and what you’d like to do with it.

The post can be short or long, a personal intro to your life or a bloggy mission statement, a manifesto for the future or a simple outline of your the types of things you hope to publish.

To help you get started, here are a few questions:

  • Why are you blogging publicly, rather than keeping a personal journal?
  • What topics do you think you’ll write about?
  • Who would you love to connect with via your blog?
  • If you blog successfully throughout the next year, what would you hope to have accomplished?

You’re not locked into any of this; one of the wonderful things about blogs is how they constantly evolve as we learn, grow, and interact with one another — but it’s good to know where and why you started, and articulating your goals may just give you a few other post ideas.

Can’t think how to get started? Just write the first thing that pops into your head. Anne Lamott, author of a book on writing we love, says that you need to give yourself permission to write a “crappy first draft”. Anne makes a great point — just start writing, and worry about editing it later.

When you’re ready to publish, give your post three to five tags that describe your blog’s focus — writing, photography, fiction, parenting, food, cars, movies, sports, whatever. These tags will help others who care about your topics find you in the Reader. Make sure one of the tags is “zerotohero,” so other new bloggers can find you, too.

Design a site like this with WordPress.com
Get started